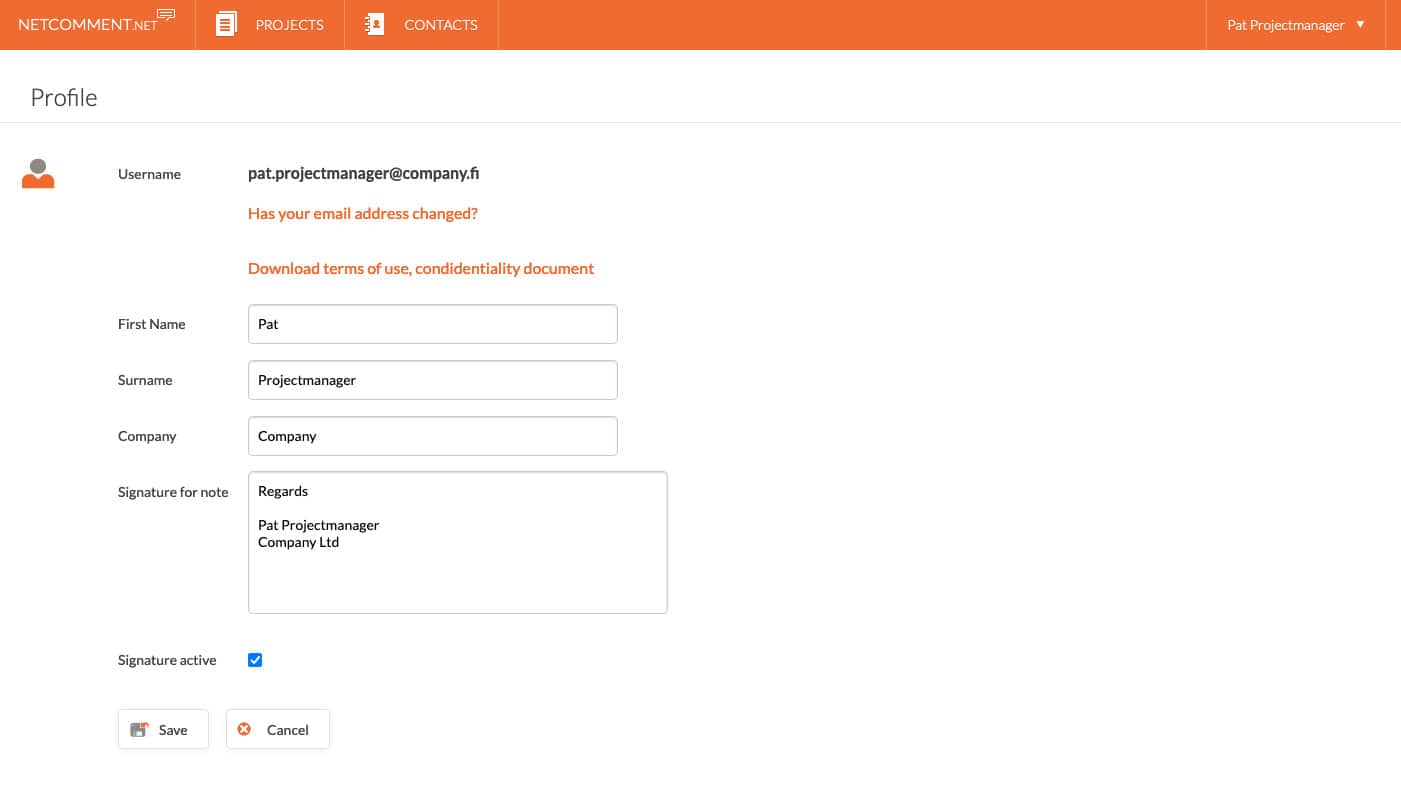
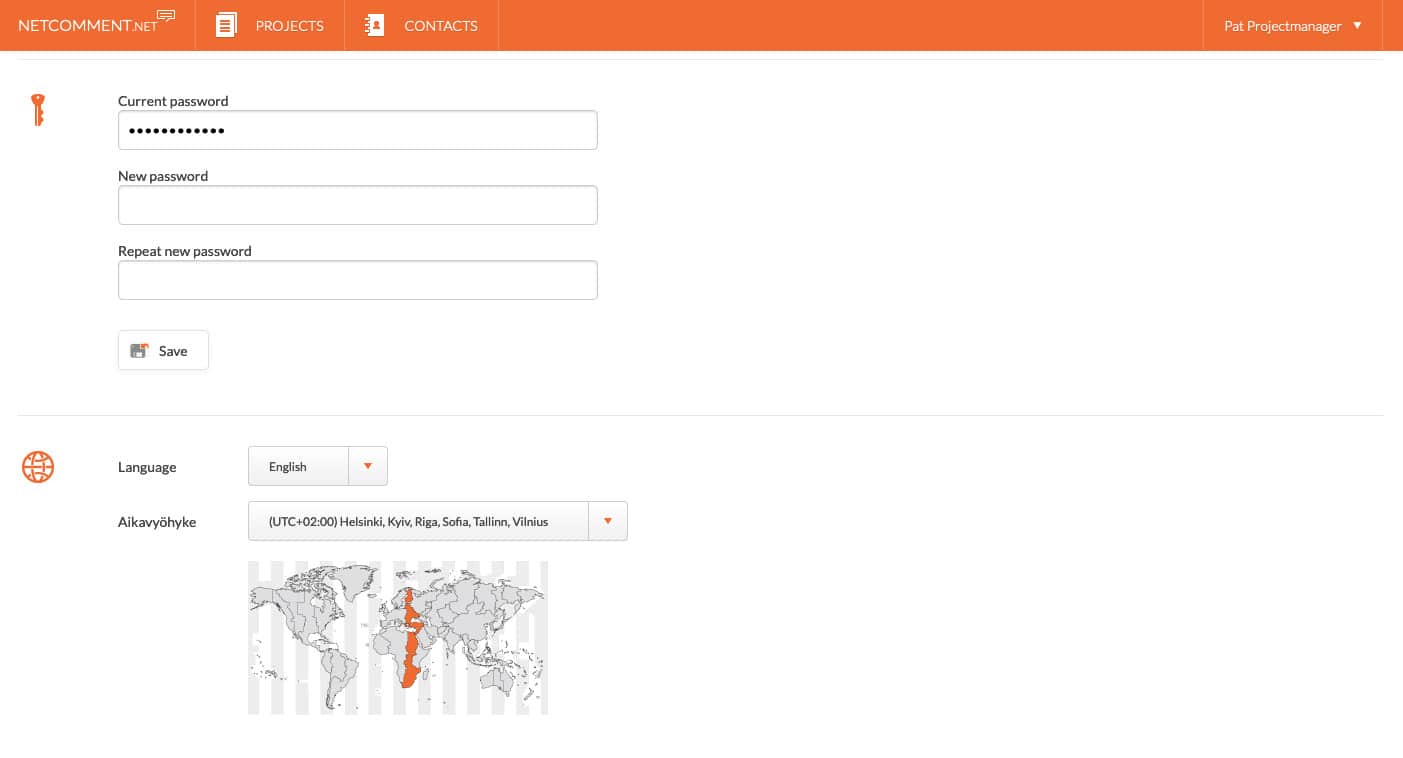
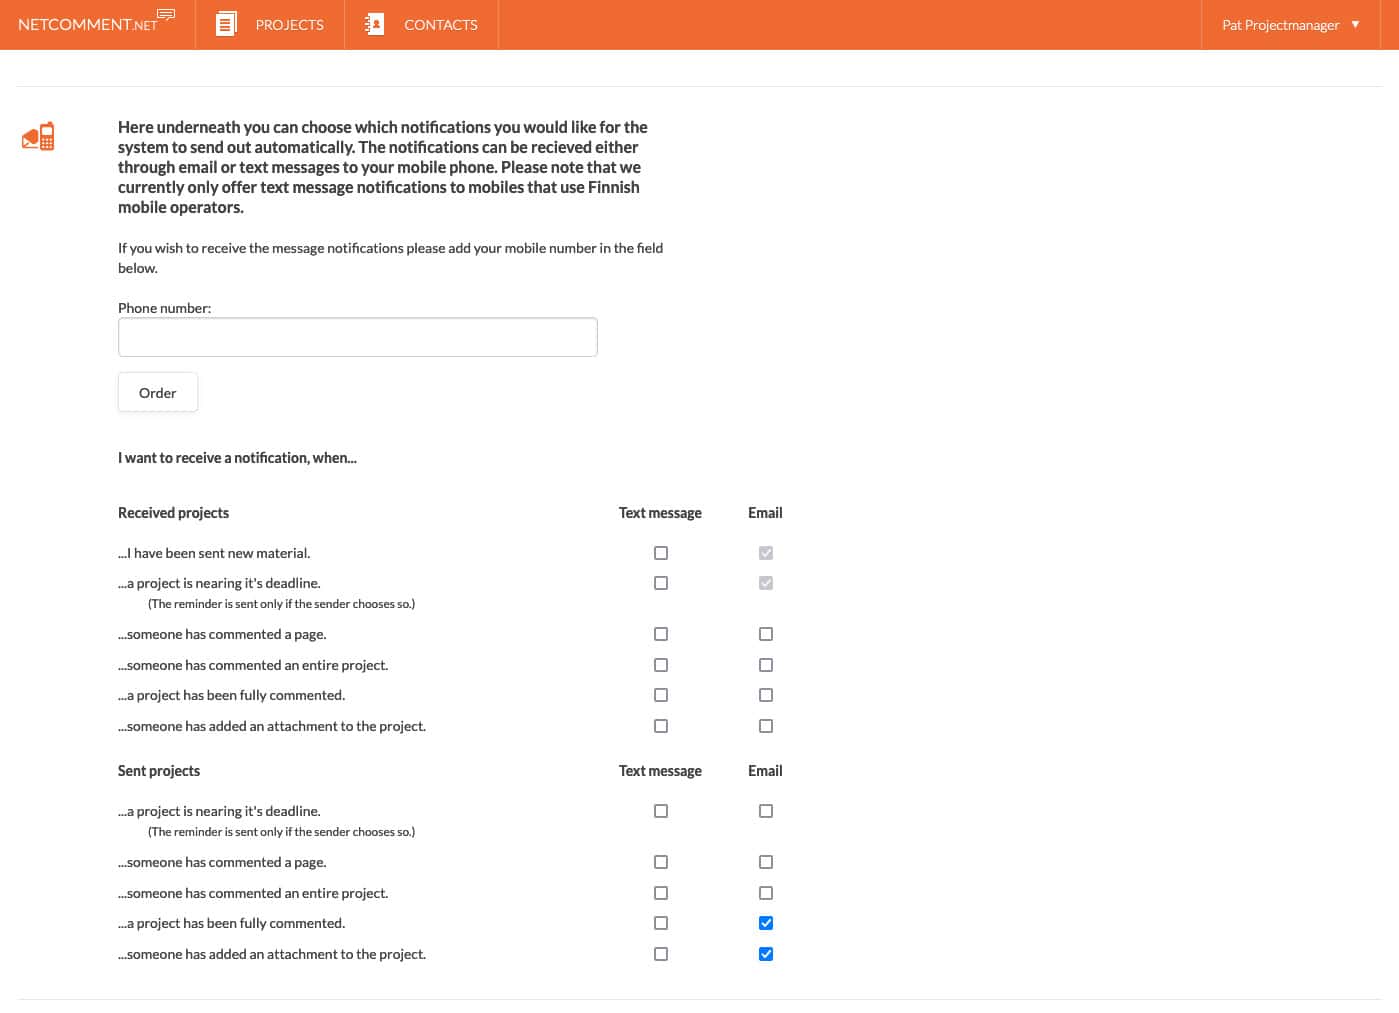
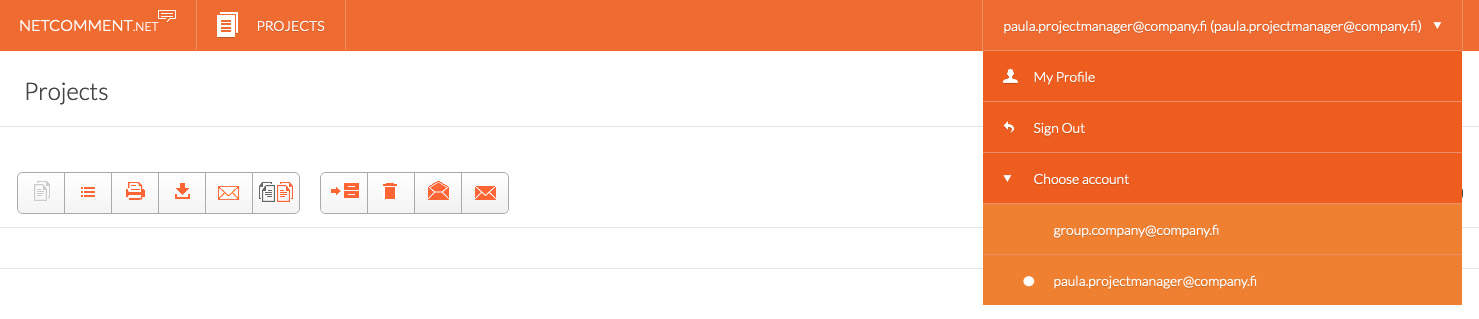
![]() Signing in to the service
Signing in to the service

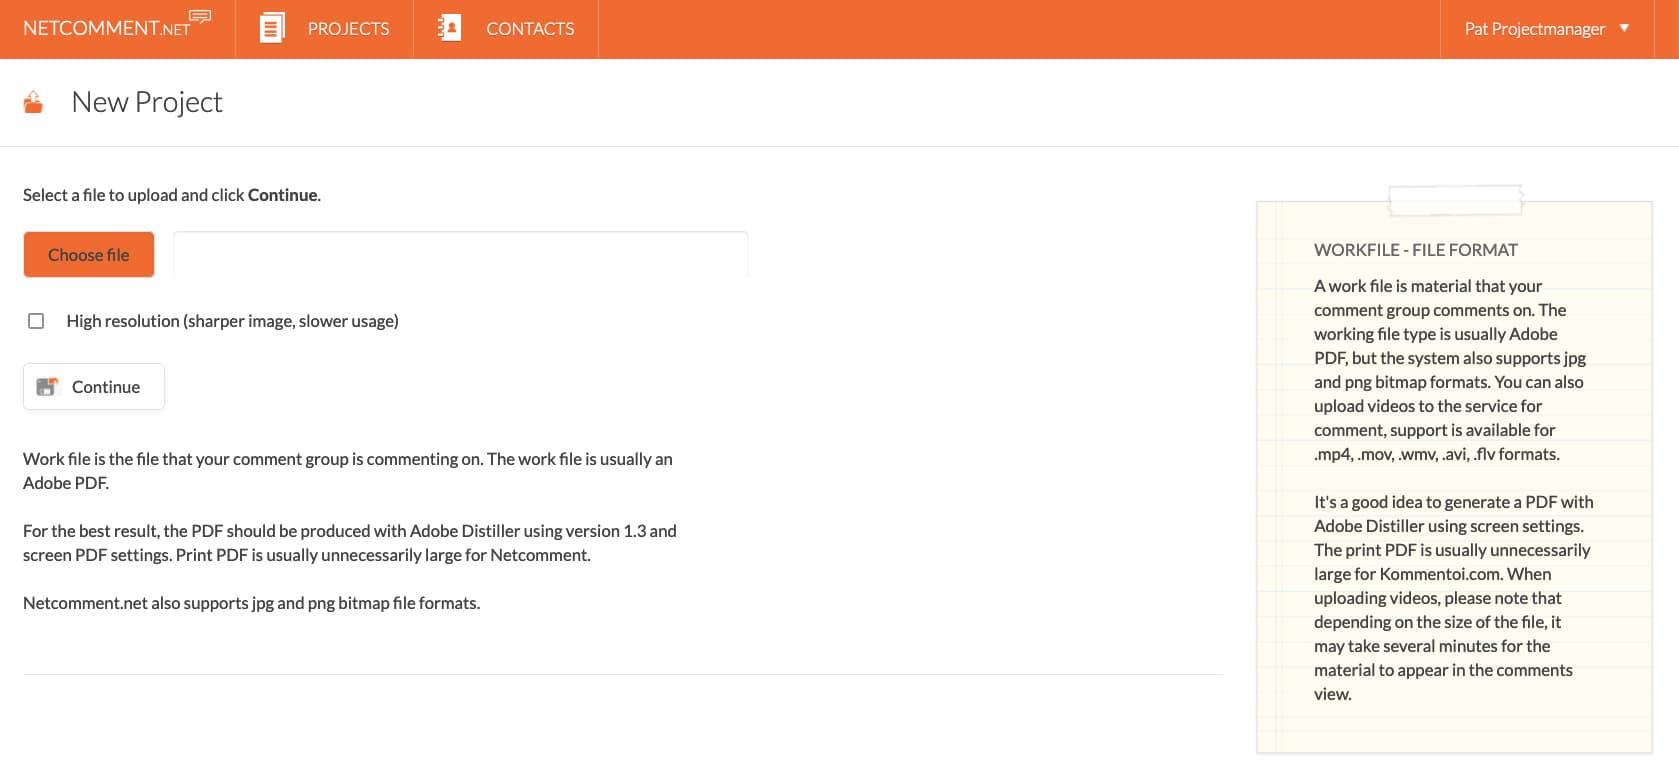
![]() Set up a project
Set up a project
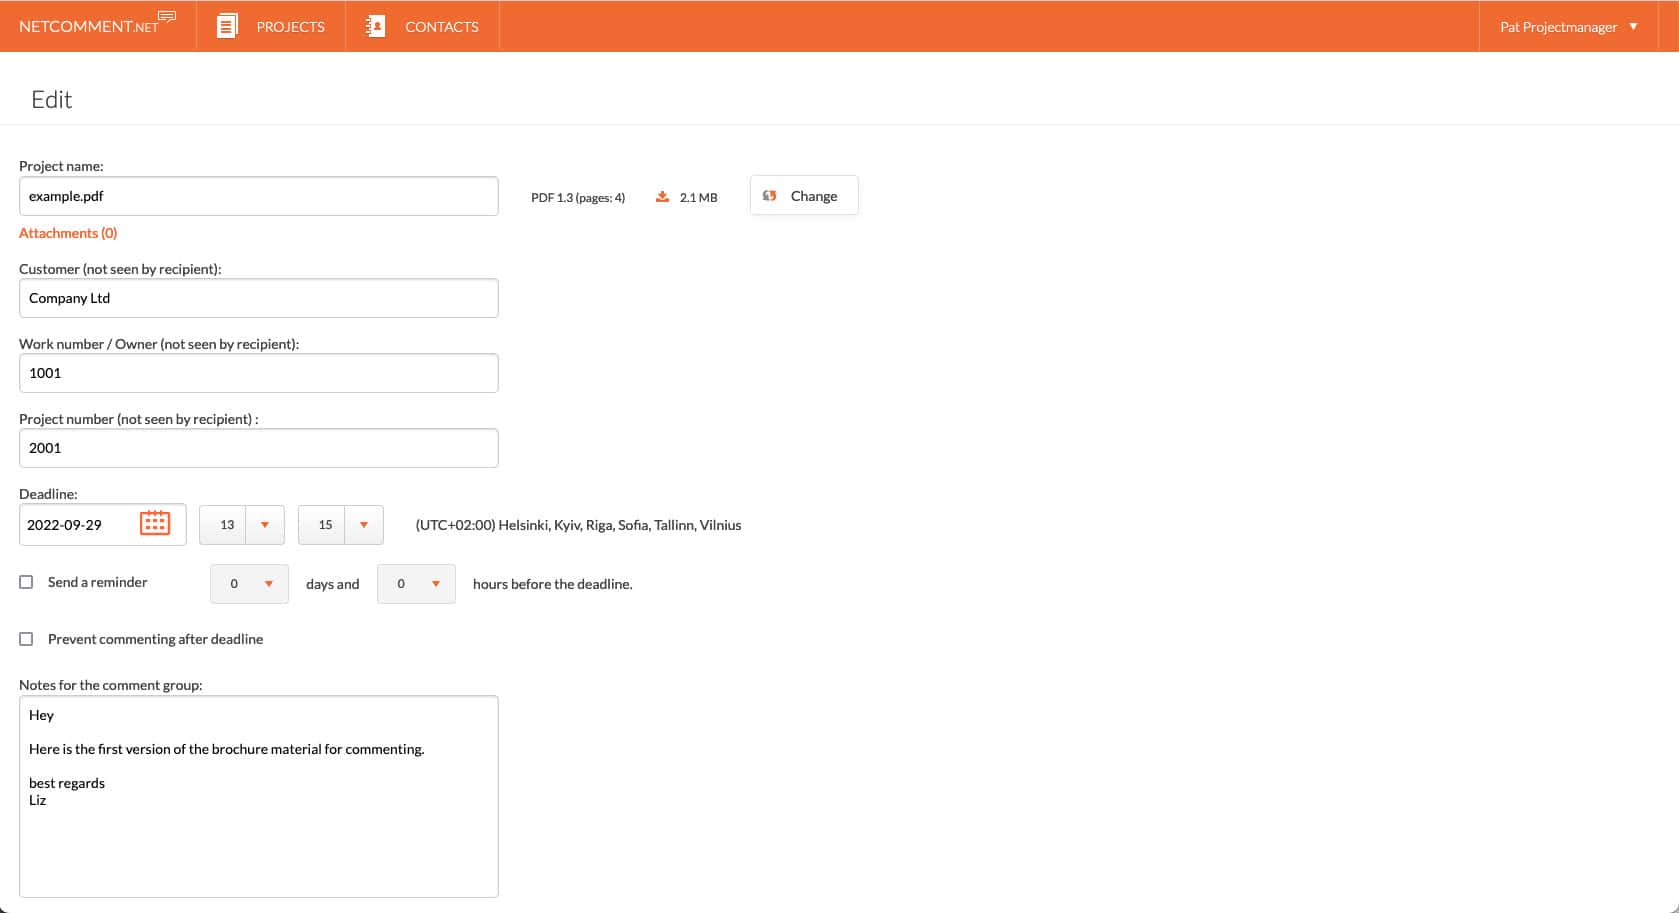
![]() Fill in basic project information
Fill in basic project information
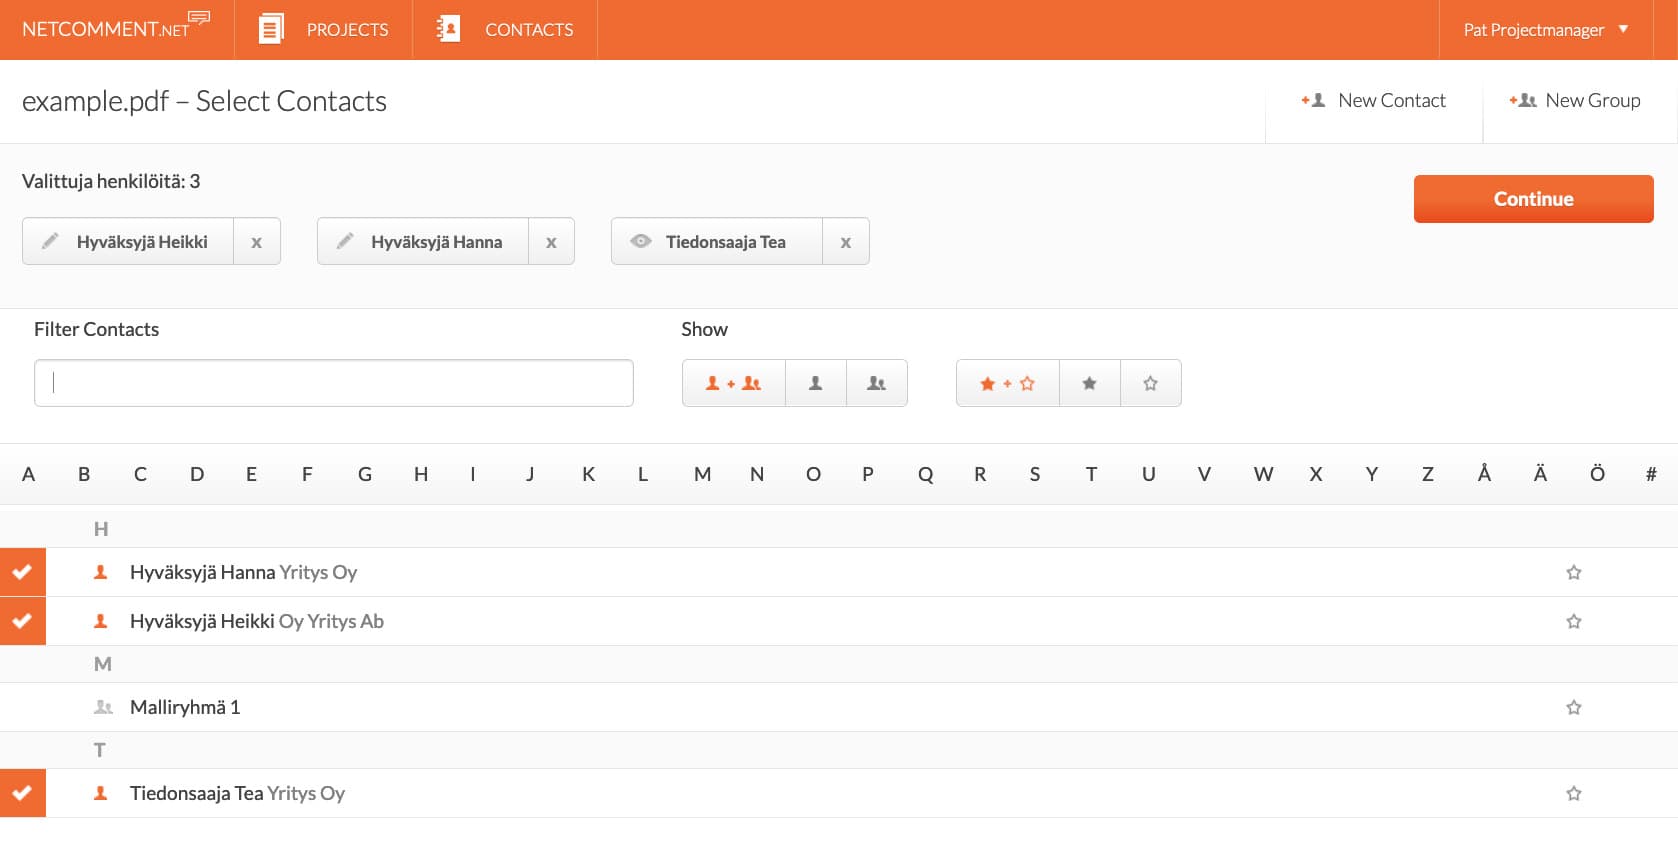
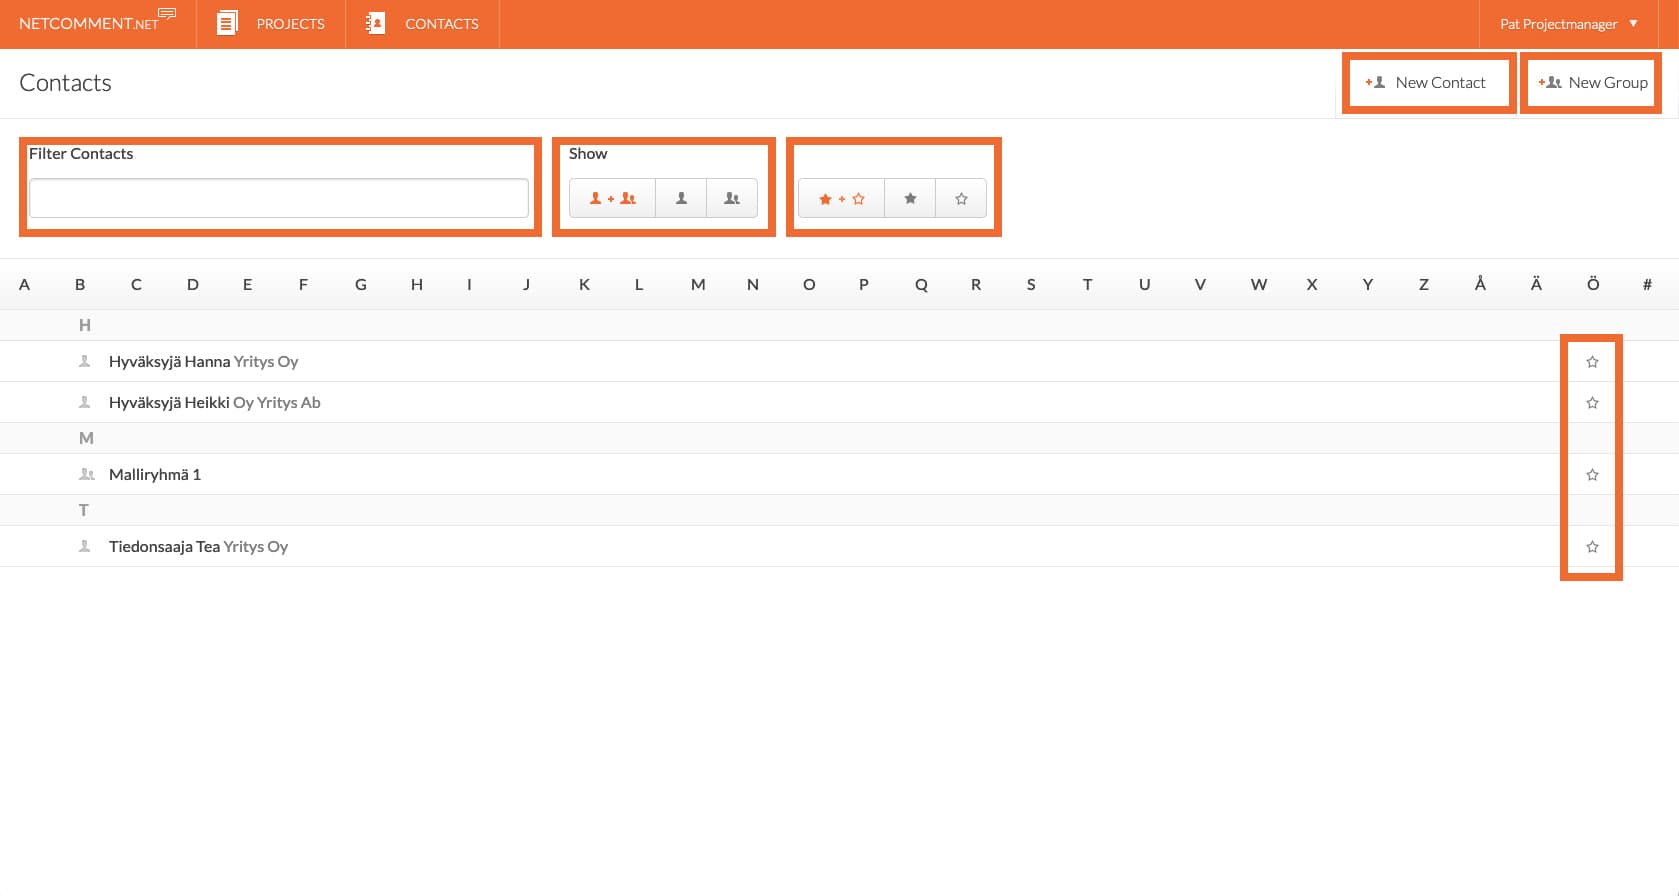
![]() Select a project group and set permissions
Select a project group and set permissions
Click “Select” at the bottom and you can select a project group from your contact list.
From the contact list, select the people you want to include in the project and assign permissions as needed.
![]() Commentator, has the right (and obligation) to comment on the material.
Commentator, has the right (and obligation) to comment on the material.
![]() Recipient of the information, the right to view the material and the comments given, but no right (obligation) to comment itself.
Recipient of the information, the right to view the material and the comments given, but no right (obligation) to comment itself.
You can also create new contacts in your contact list with the “New contact” function in the upper right corner of the view, see “Creating and managing contacts” in the instructions.
After selecting the people you want for the project, click “Continue” to return to the project’s basic information view.

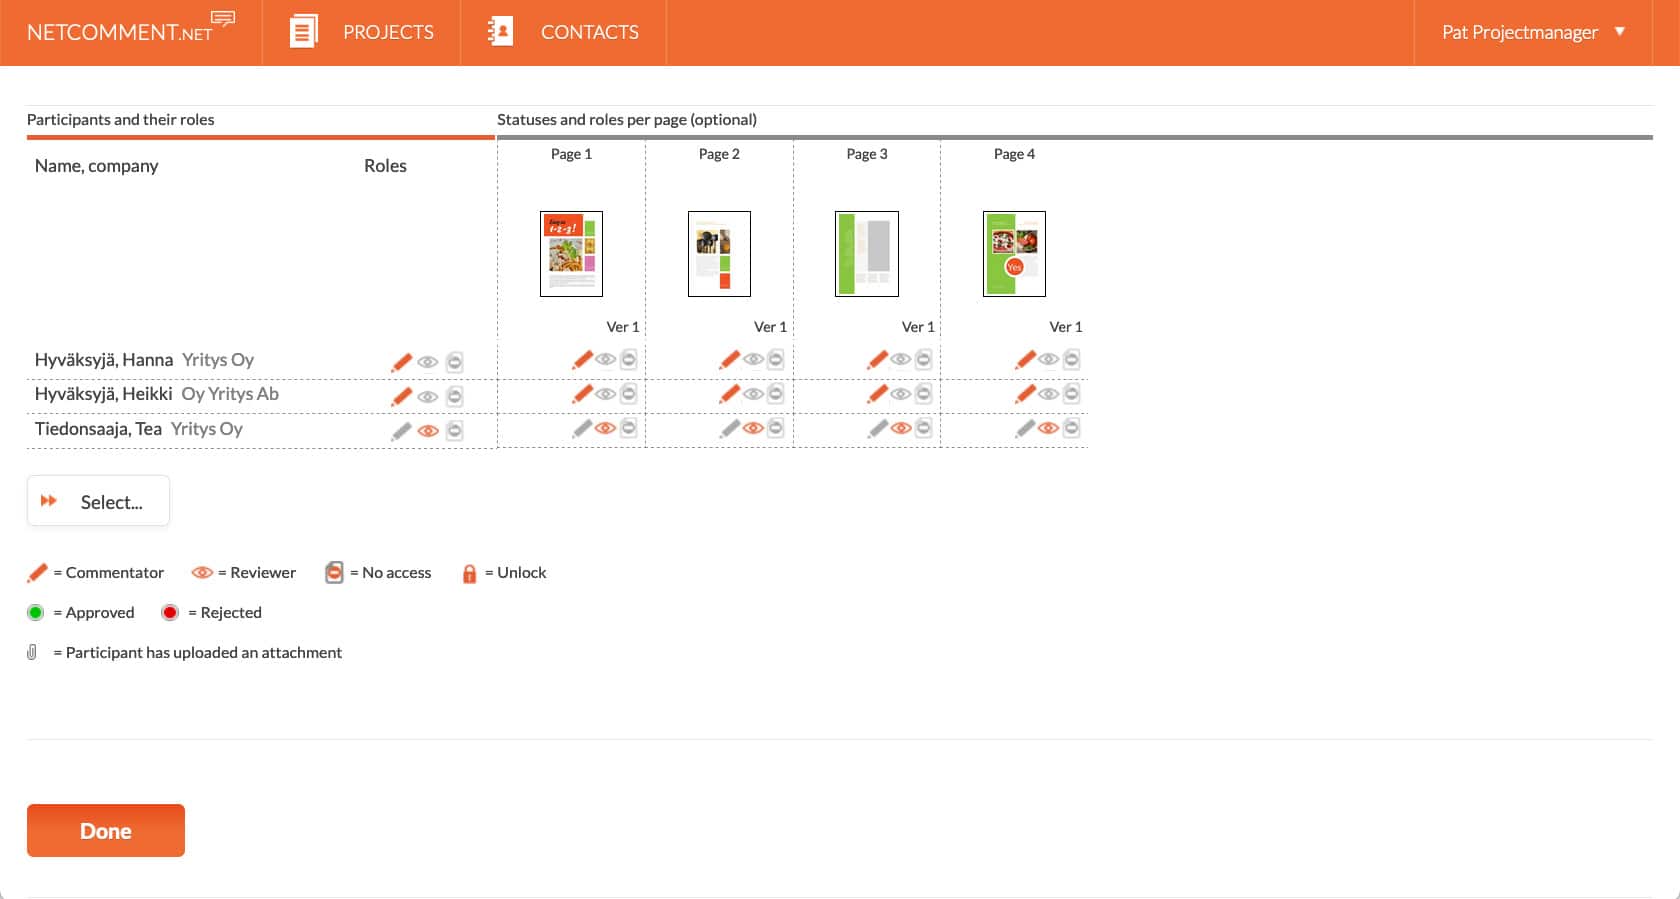
![]() If necessary, set page-specific permissions
If necessary, set page-specific permissions
From the table at the bottom of the project master data, you can assign rights to individuals on a page-by-page basis.
![]() Commentator, the right (and obligation) to comment on the material.
Commentator, the right (and obligation) to comment on the material.
![]() Recipient of the information, the right to view the material and the comments made on it, but no right (obligation) to comment on it.
Recipient of the information, the right to view the material and the comments made on it, but no right (obligation) to comment on it.
![]() Hide page, no viewing rights.
Hide page, no viewing rights.
Click “Save” to go to the Project List view.
![]() Check, select the project owner and submit
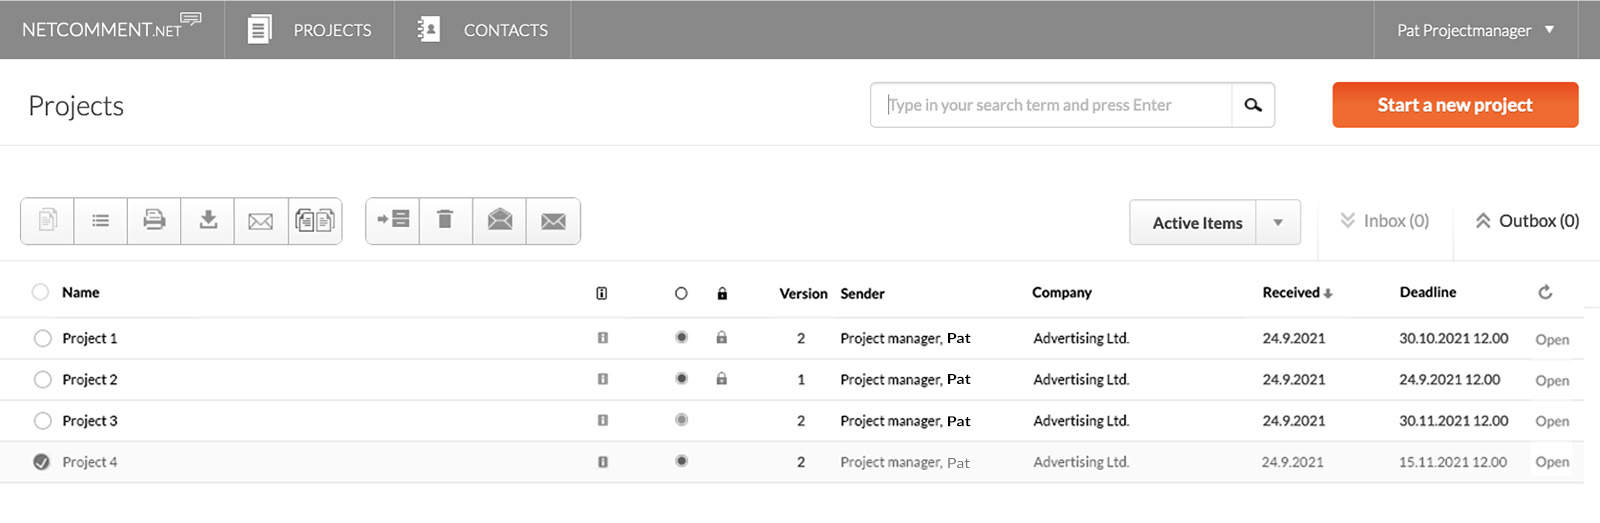
Check, select the project owner and submit
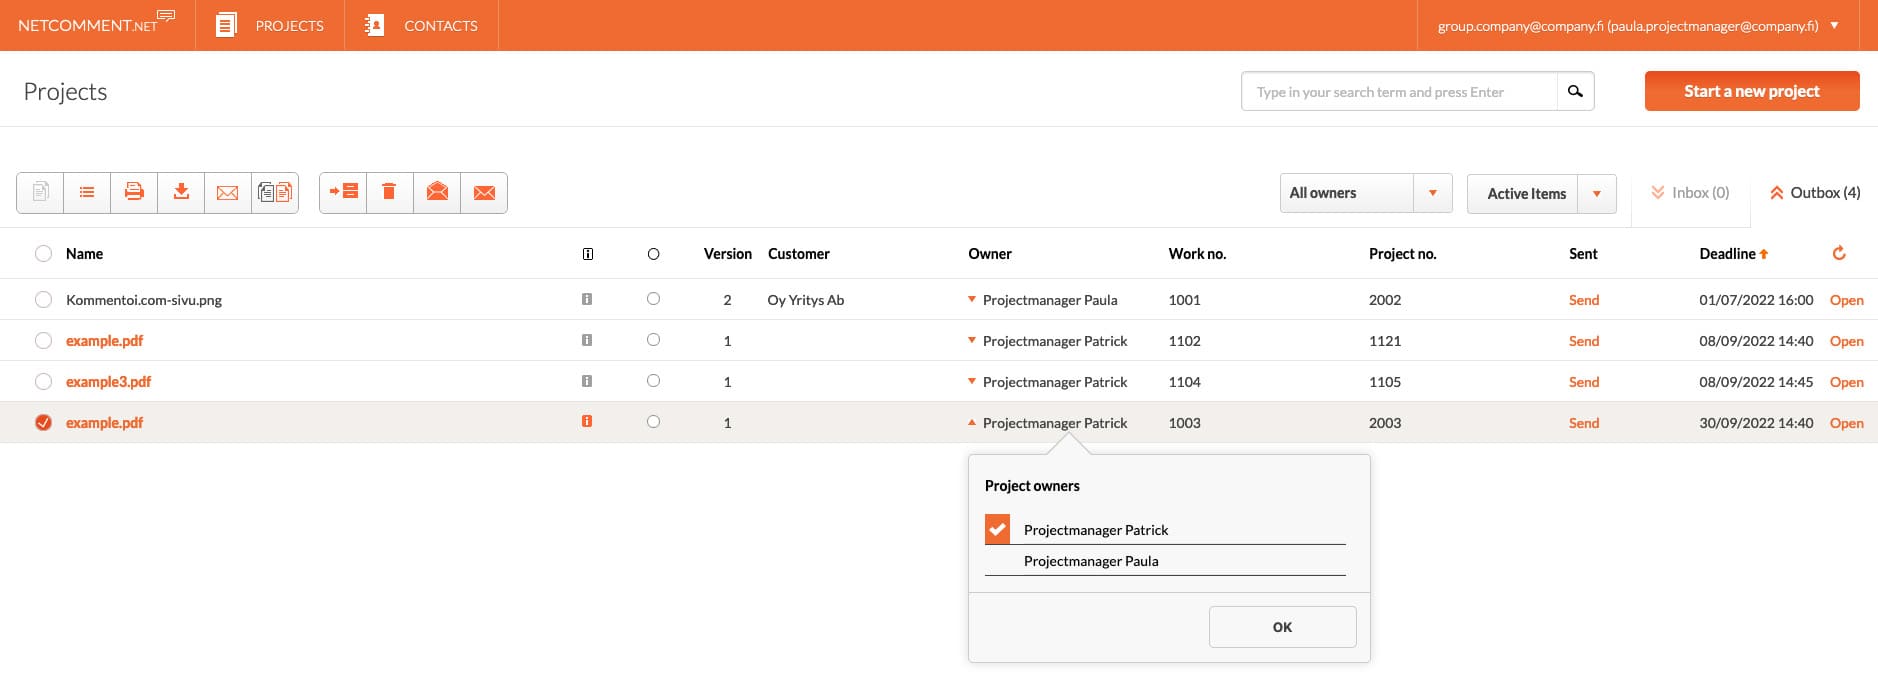
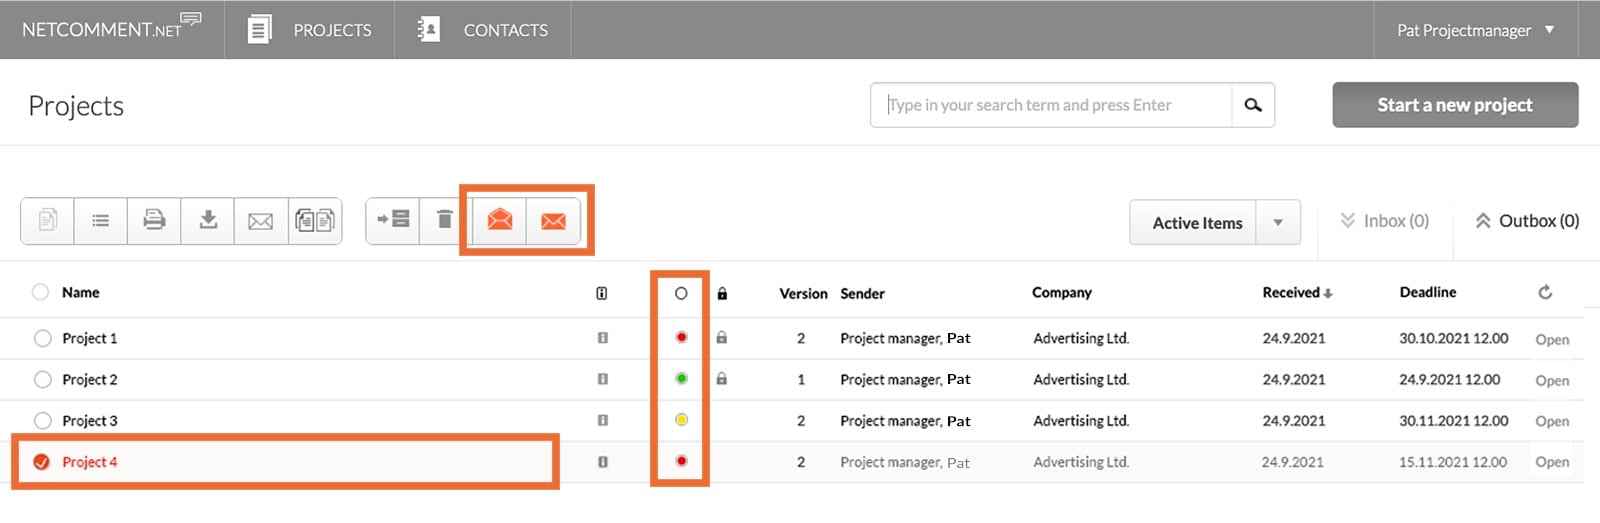
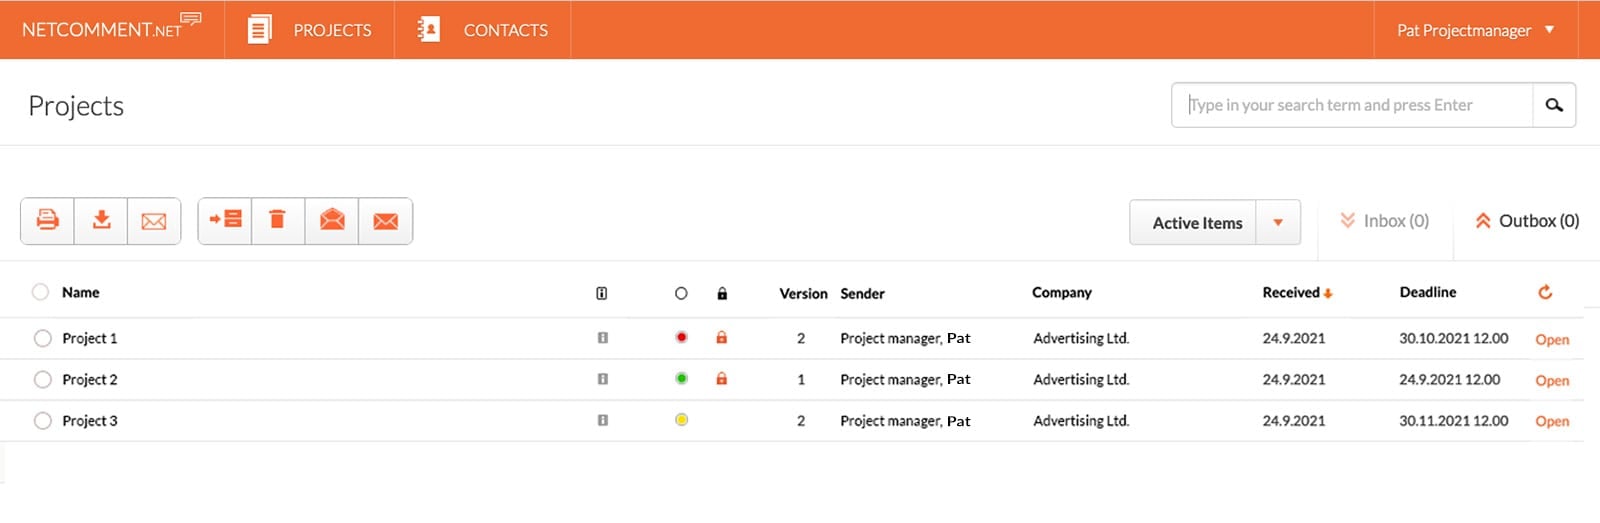
In the project list you can see the status of your project and the progress of the commenting process
![]() – commenting on the project has not started
– commenting on the project has not started![]() – project comment in progress (at least one project page is pending from at least one commenter)
– project comment in progress (at least one project page is pending from at least one commenter)![]() – project commented and rejected (at least one commenter has rejected at least one page)
– project commented and rejected (at least one commenter has rejected at least one page)![]() – project commented and approved (all commenters have approved all pages of the project)
– project commented and approved (all commenters have approved all pages of the project)
New approvals and rejections
The project status ball flashes and the project bar is highlighted whenever new comments are received (pages approved or rejected). The highlighting disappears when you open the project, you can also delete or set the highlighting with the “Mark as unread” / “Mark as read” functions above the project list.
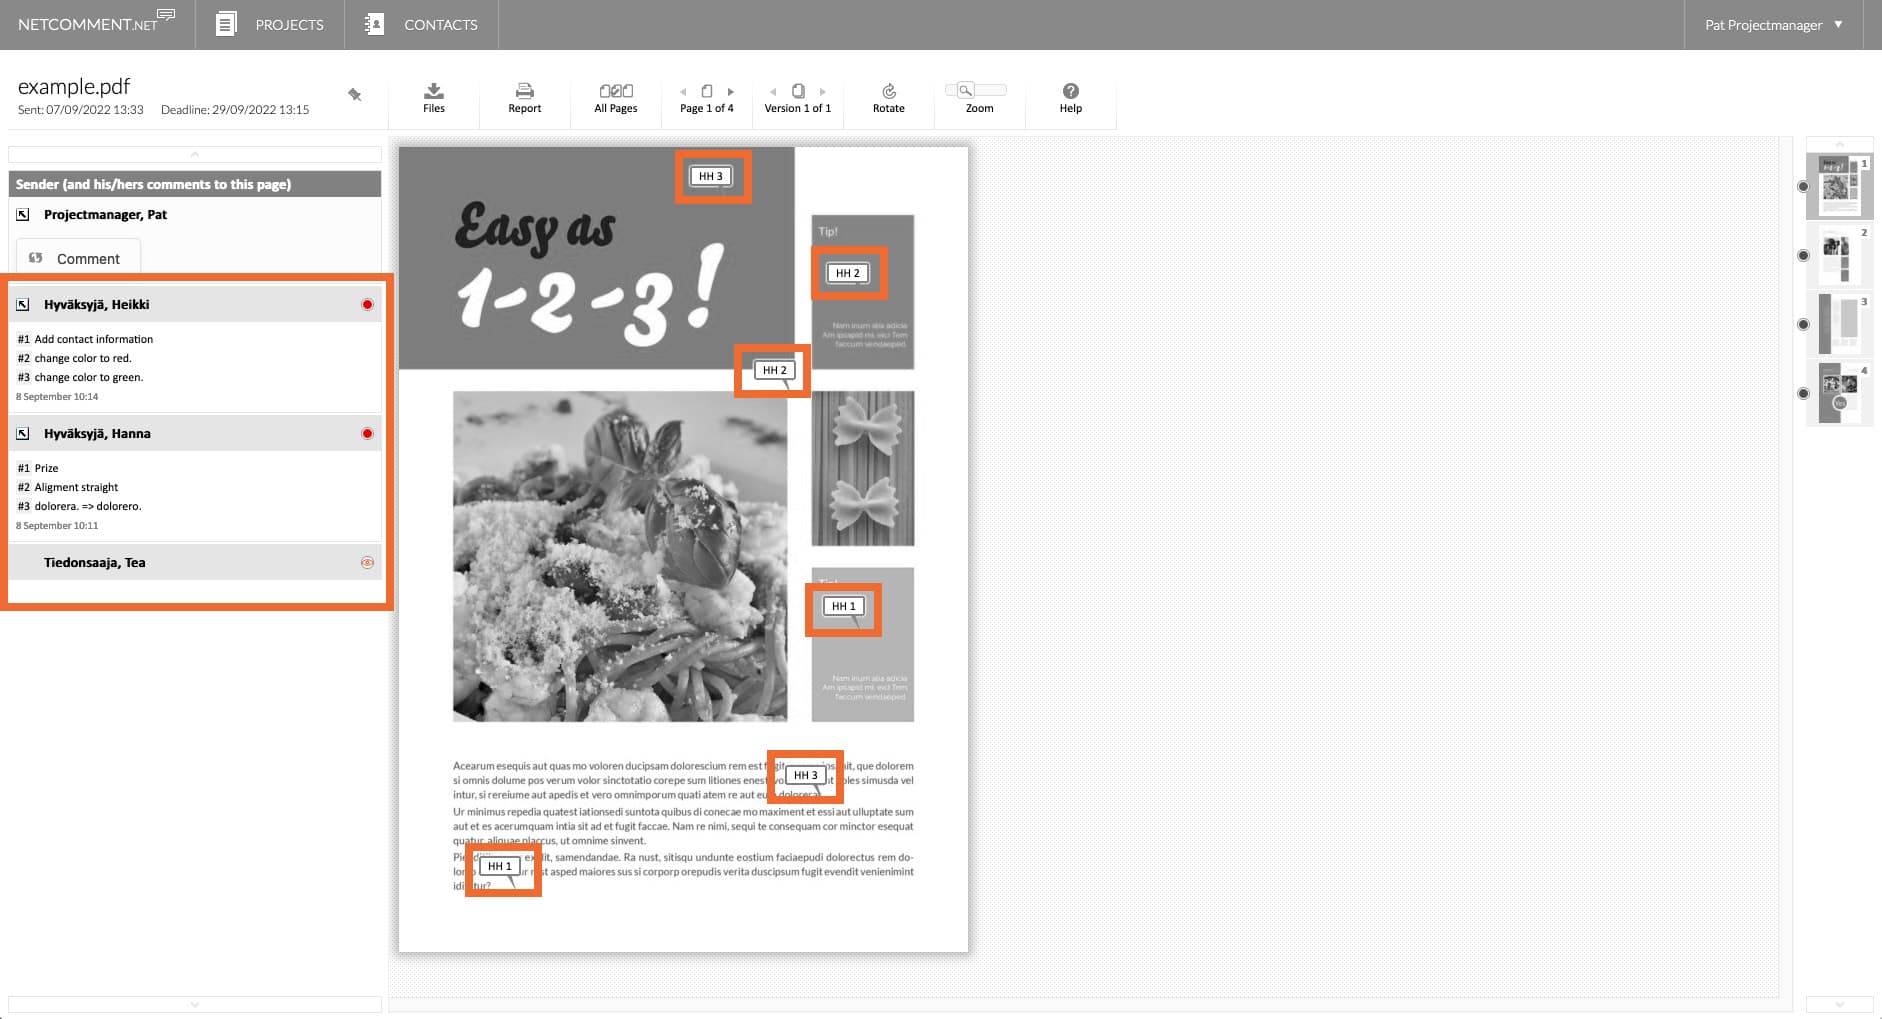
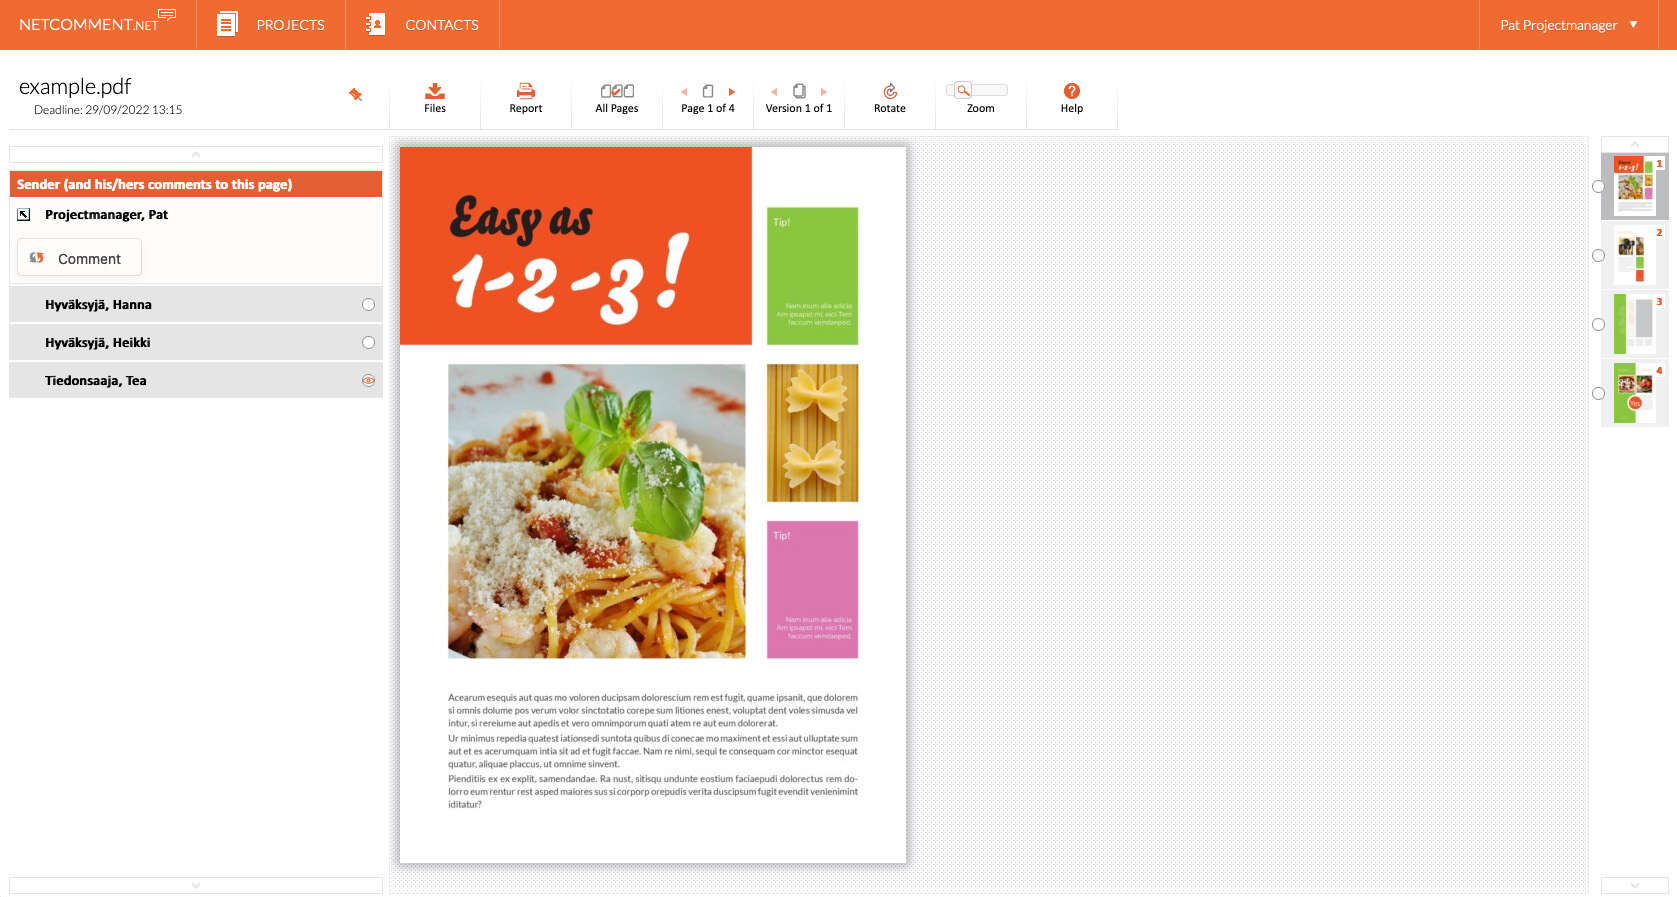
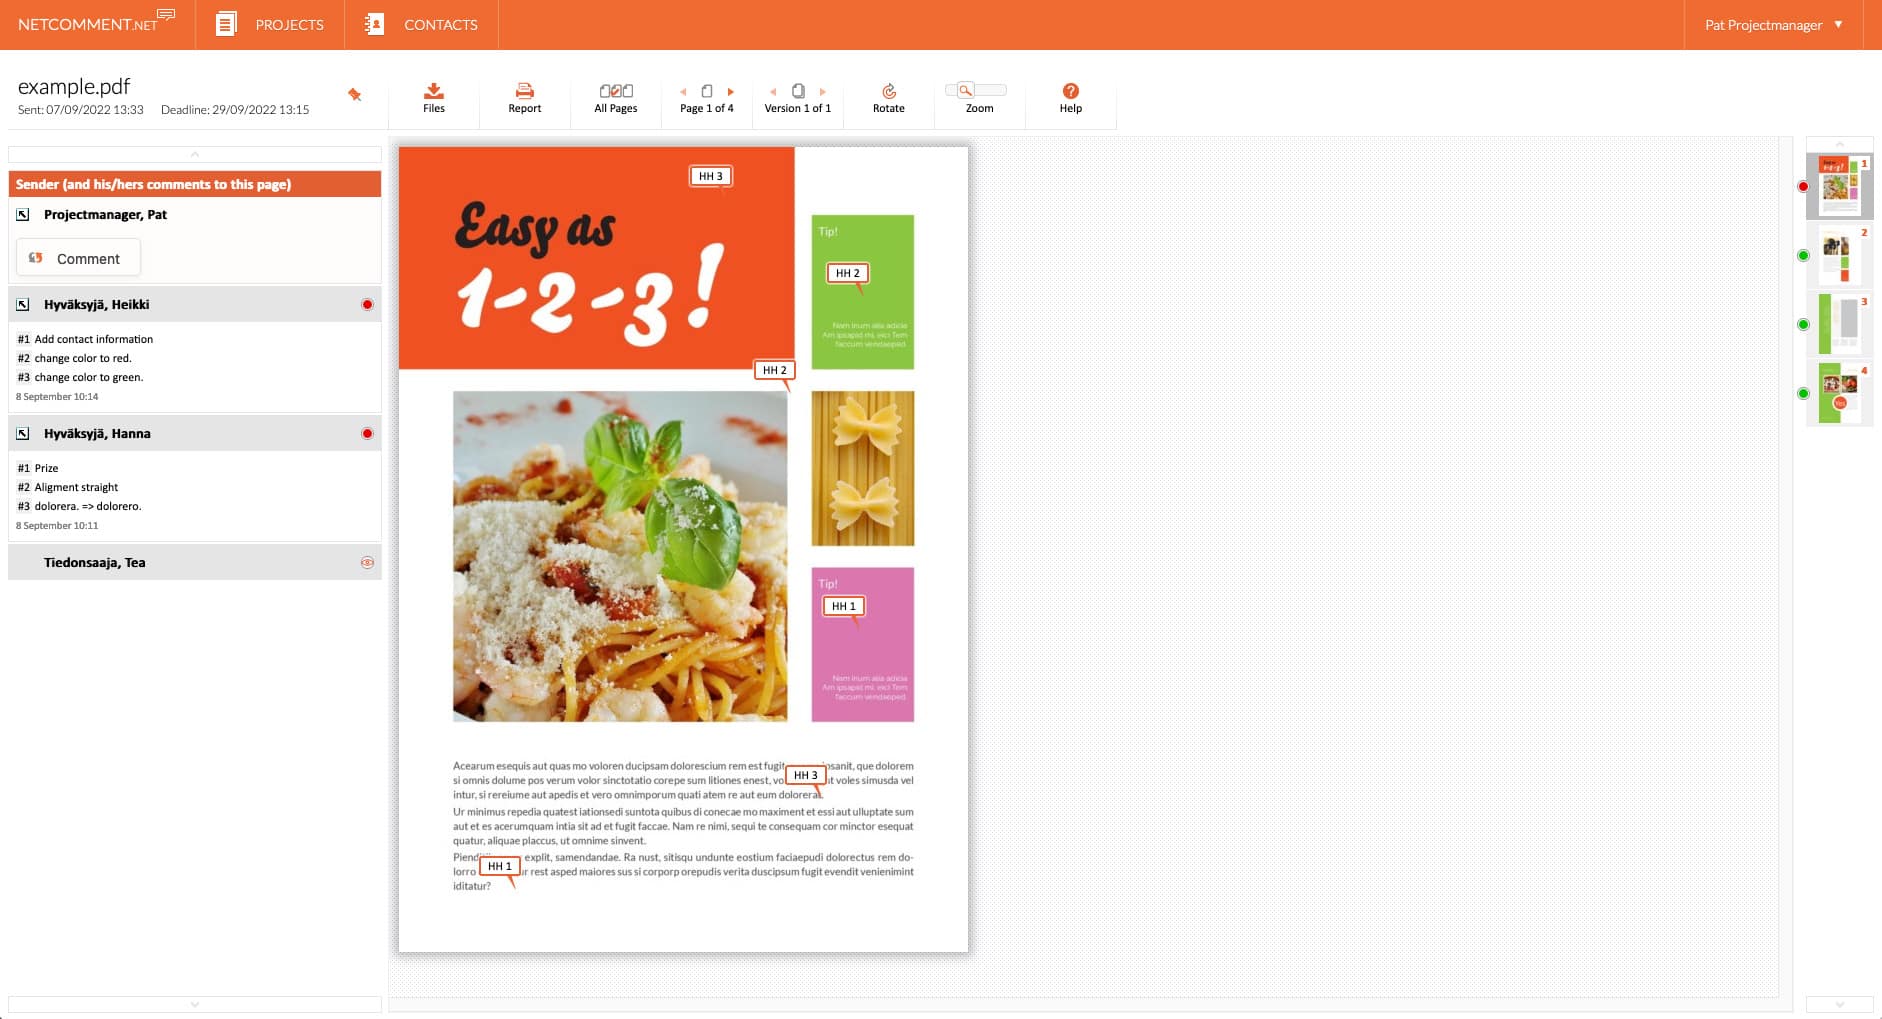
You can see the status of individual pages from the thumbnail icons on the right side of the view
![]() – the page has not been commented on
– the page has not been commented on![]() – page commenting in progress (the page has not been processed by at least one commenter)
– page commenting in progress (the page has not been processed by at least one commenter)![]() – page commented and rejected (at least one commenter has rejected the page)
– page commented and rejected (at least one commenter has rejected the page)![]() – the page has been commented on and approved (all commenters have approved the page)
– the page has been commented on and approved (all commenters have approved the page)
Blinking of the status ball indicates new comments on the page (acceptance or rejection), opening the page removes the blinking.
![]()
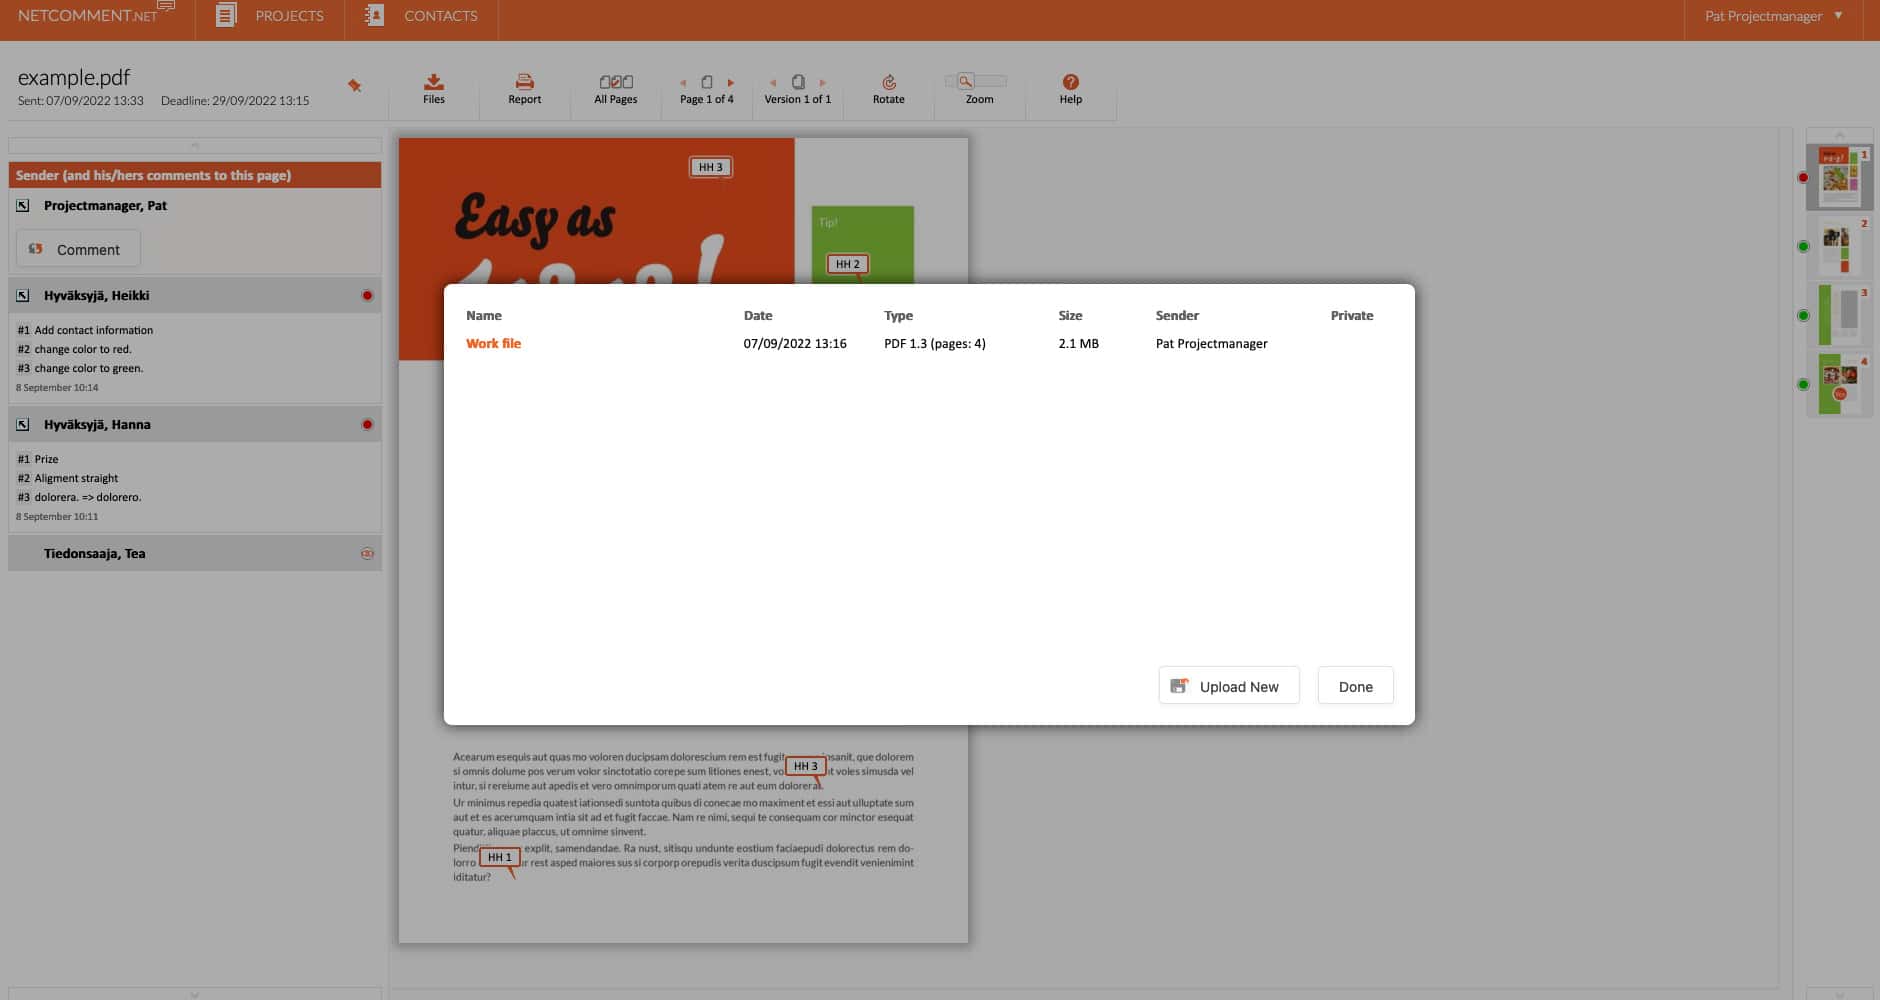
Files
![]()
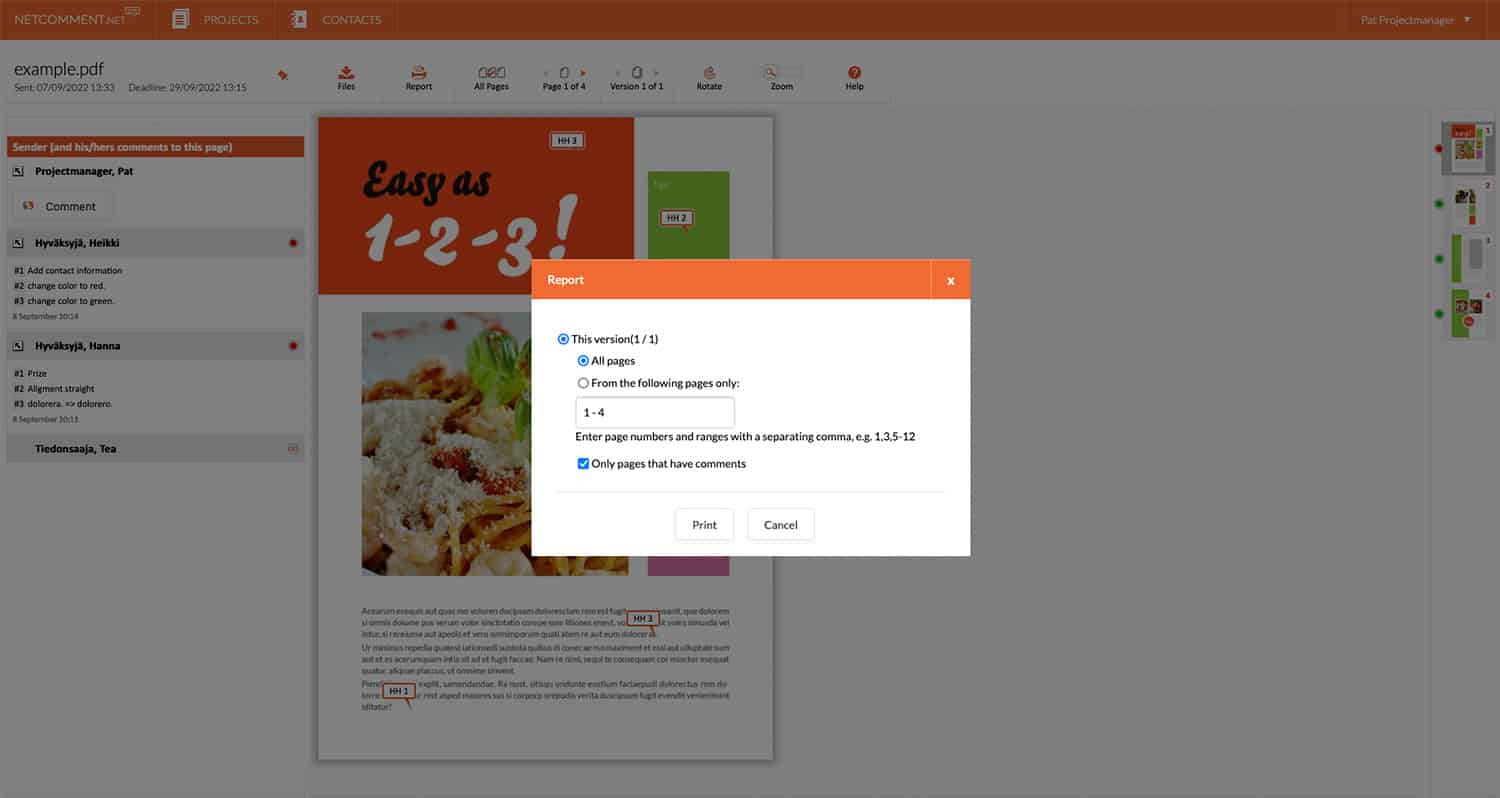
Report
![]()
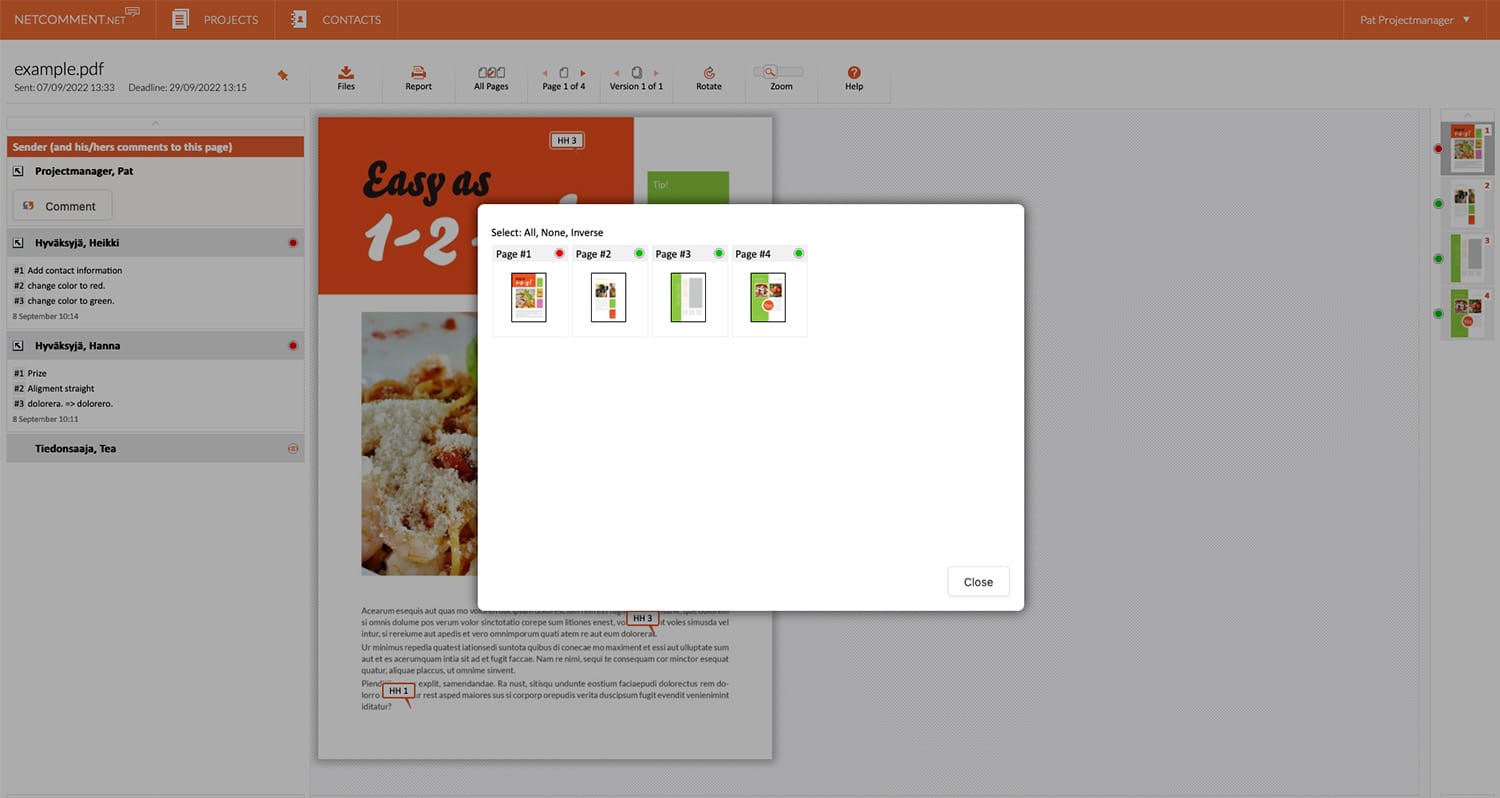
All pages
![]()
Page management
![]()
Versions
![]()
Rotate
![]()
Zooming
![]()
Files
![]()
Messages
![]()
Archive
![]()
Delete
![]()
Mark as read / unread
![]()
Active / Archived
![]()
Send
![]()
Search